Proxmox Mail Gateway is an open-source email security solution based on Debian GNU/Linux, designed to protect against spam, viruses, Trojans, and phishing.
We will see how to use this interface to manage spam reports from the software.
If an email is considered SPAM with a score higher than 6 (see scale below), it will be quarantined.
A daily report of quarantined messages is then sent to you.
The Proxmox spam report in your mailbox
When you open the email from Proxmox, the list of emails marked as potential spam is displayed.


On click onemail subject line :
redirect to the Proxmox spam manager interface.

Whitelist : reorder the email as a standard email,
we tell it that it is not spam.

Blacklist : allows you to mark this email as spam.

Deliver : allows the email to be treated normally as a standard email.

Delete : delete the email directly.
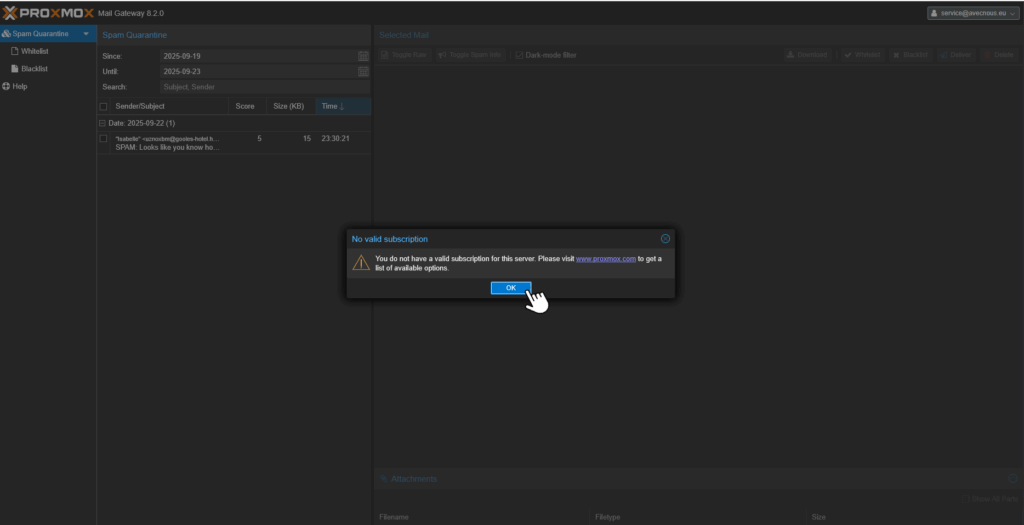
Once you have arrived at the Proxmox interface: confirm the entry.
Click OK in the dialog box. It will say “you have no active subscription” because it is a free version.

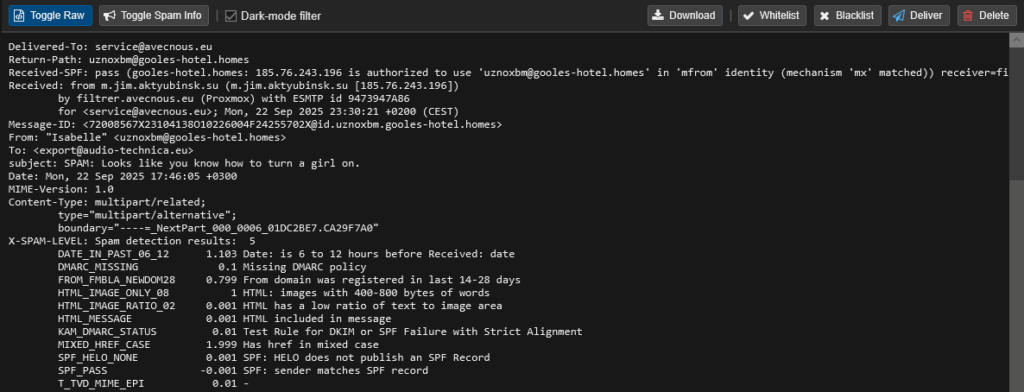
Click on the email in question to analyze the content.

Menus options:


Toggle raw : displays the source code of the email.


Toggle spam info : displays information and scores for potentially risky content in the email.


Darkmode filter : displays the interface in light or dark mode.

Download : download the mail.

Whitelist : allows you to mark the email as not risky.

Blacklist : allows you to mark the email as spam.

Deliver : the email is sent back to be processed normally
(it then goes back to the inbox).

Delete : allows you to delete the email directly.
Quarantined emails: left menu
2 submenus: whitelisted emails and blacklisted emails.
In each submenu, you can process email lists.


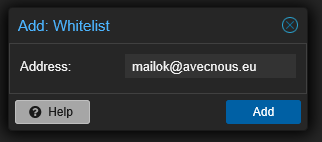
“Add” option: manually add an email address to the whitelist or blacklist
Click on “Add,” a dialog box will open: enter the email address in question and confirm the action by clicking on “Add” (blue button) for the email to be taken into account.

“Remove” option: manually remove an email from the whitelist or blacklist
Select the box for the email in question, then click on “Remove.” A dialog box will appear asking you to confirm whether or not you want to delete it.
