
 EN
EN  FR
FR Installation
The plugin is installed just like any other extension: by uploading the zip file and activating it.
You can also install the plugin via the WordPress plugin library and activate it directly from there.
Menus
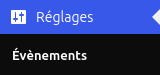
- Settings > Events: a single menu, several settings
Events settings
Global settings
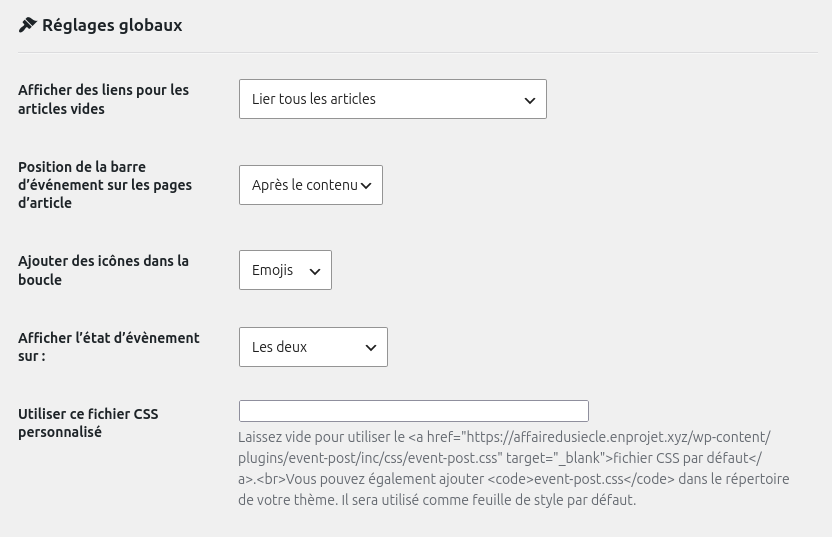
Managing the positions of EventPost elements:
- Show links for empty articles: handles the option to hide the link on empty articles (for example, if only the date, title and a short extract are displayed, and there is no added value in visiting the dedicated article).
- Position of the event bar on article pages: Select a location: before, after or hidden.
- Add icons to the loop: Customise the type of icon you want to add (emojis, icons, hide).
- Display the event status on: the list, the items, both, or neither.
- Use this custom CSS file: Enter the URL of your custom CSS; otherwise, use the extension’s default CSS.
Date settings
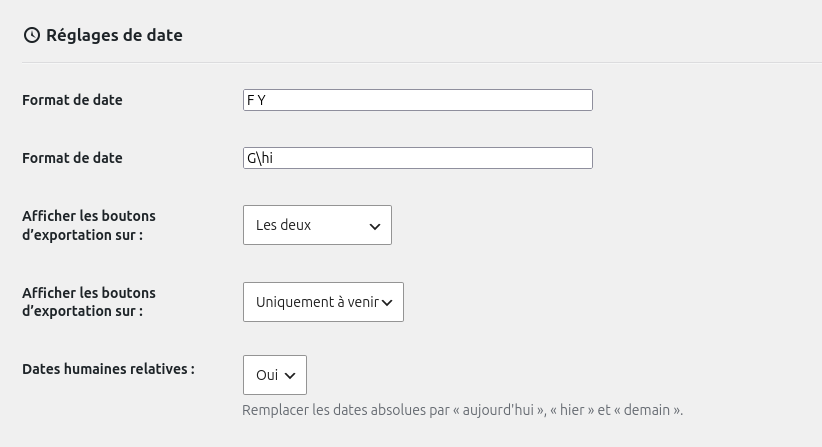
Formatages :
- Date formats 1 and 2: View the different date formats by country, permet de gérer et personnaliser les affichages et ordres des jours/mois/années.
- Show export buttons on: list only, article only, both, neither.
- Show export buttons on: only future or past, both, neither.
- Relative human dates: whether or not it replaces absolute dates with ‘today’, ‘yesterday’…
List settings
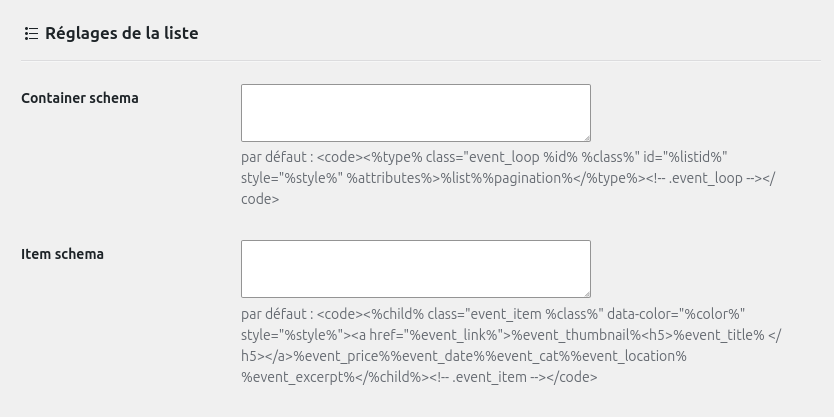
Allows you to define specific schema codes for the container or elements: customize the order and structure of the elements displayed in the event list.
Timeline settings
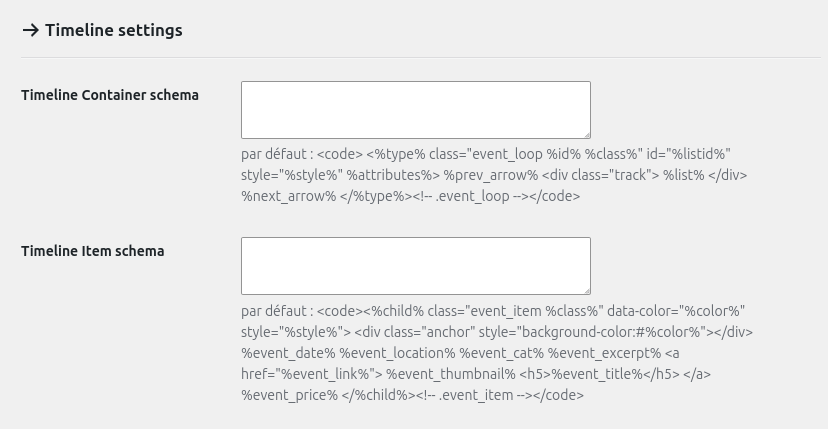
Allows you to define specific schema codes for the container or the elements: customize the order and structure of the elements displayed on the timeline.
Design settings
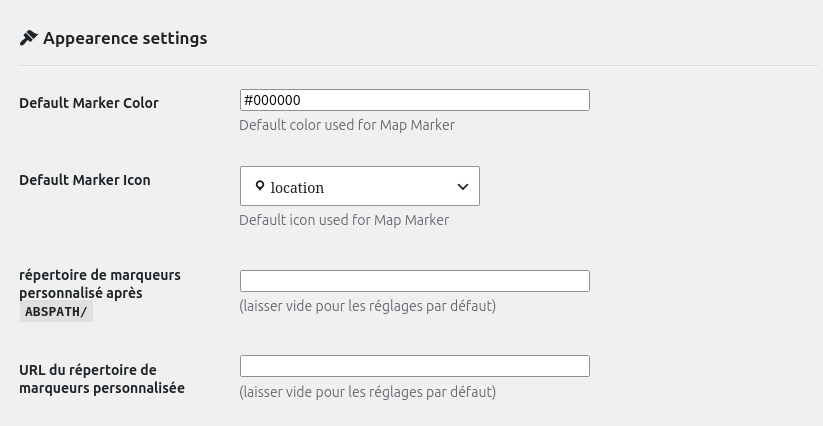
Element styling options:
- Default colour of markers: choose a hexadecimal colour.
- Default marker icon: select from the list of icons.
- Customised marker directory after
ABSPATH/: define your own markers. - URL of the custom marker directory: specify the URL where the icons are located in the theme.
Map settings
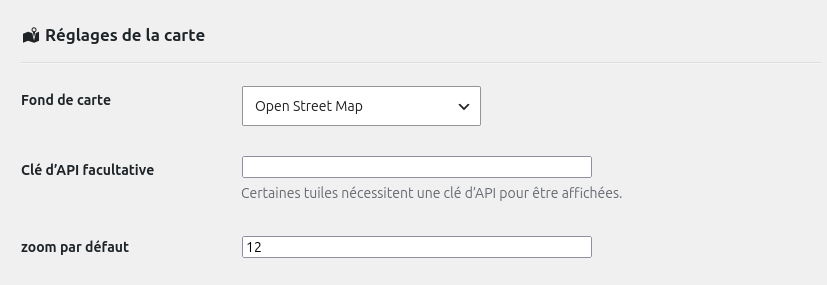
Map display:
- Base map: choose a map style.
- Optional API key: depending on the map selected, a specific API key is required for it to be displayed.
- Customised marker directory after
ABSPATH/: define your own markers. - Default zoom: the map will be zoomed in to this level, though the user can still zoom in or out. The zoom level can range from 2 to 18; for a small town or neighbourhood, a level of 12 is often best.
Administration settings
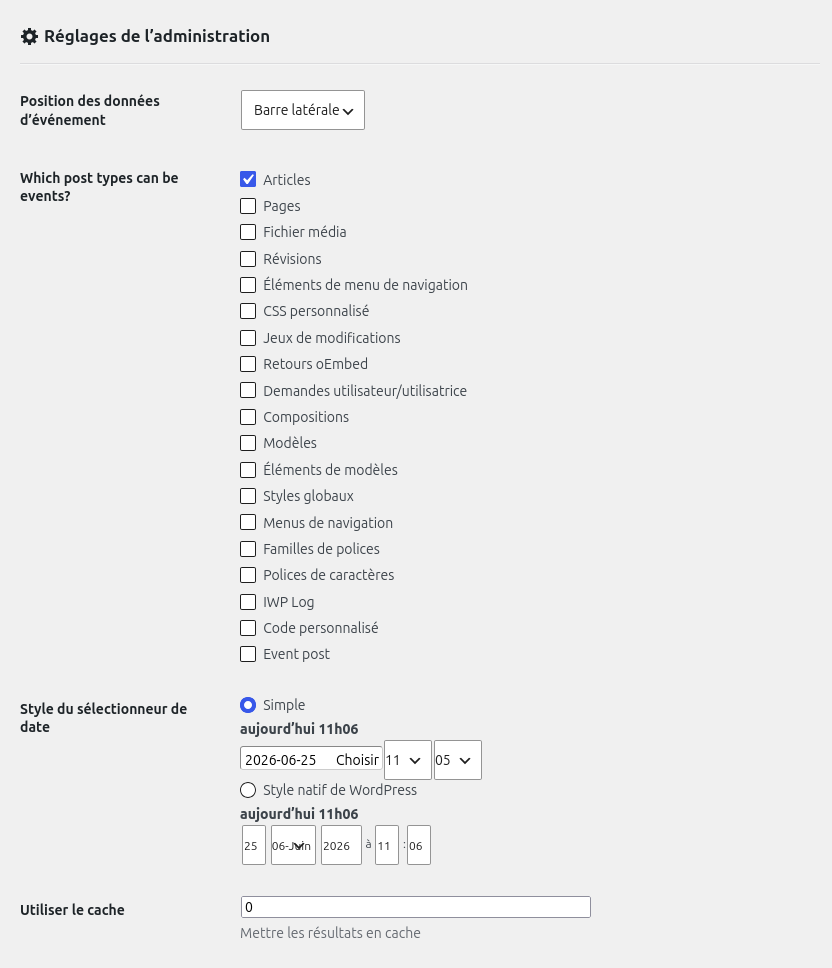
Post types included in EventPost, date formatting and caching:
- Position des données d’événement : sidebar or below the text.
- What types of posts are considered ‘events’?: this could be any type of post, ranging from articles, pages, media, custom post types, etc…
- Date picker style: set the simple or native WP theme.
- Use the cache: specify a cache value.
Weather settings
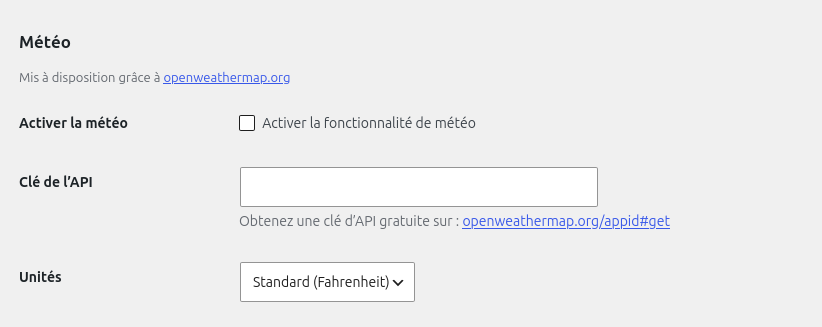
- Turn on the weather forecast
- API key: Create your free API key with OpenWeather
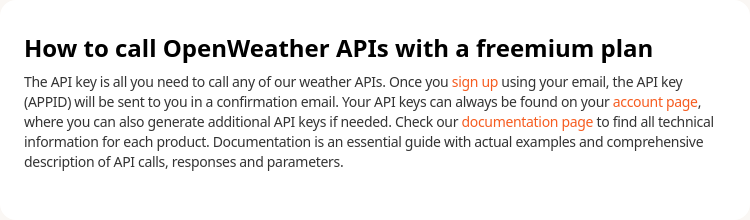
Once you have created your account, refer to the OpenWeather documentation to create your API key:
https://openweathermap.org/api
- Units: : Celsus, Fahrenheit, Kelvin.
Multi-date settings
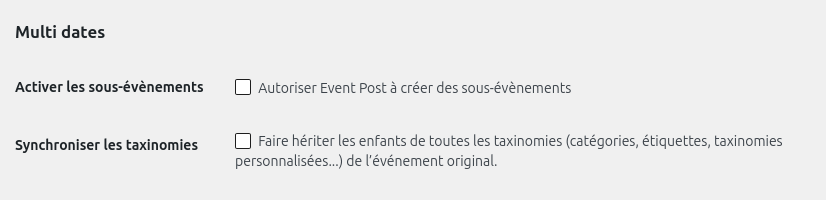
- Enable sub-events : depending on how your events are categorised, a single event may comprise several others, such as a tour, for example, or events on the same theme.
- Synchronize taxonomies: if sub-events are selected, they inherit all the taxonomies (categories, tags, etc.) from the parent event.
Gutenberg blocs
Incorporate the Event Posts blocks into your various pages and templates to create flexible, customised layouts.
The timeline
Select the ‘Events Timeline’ block
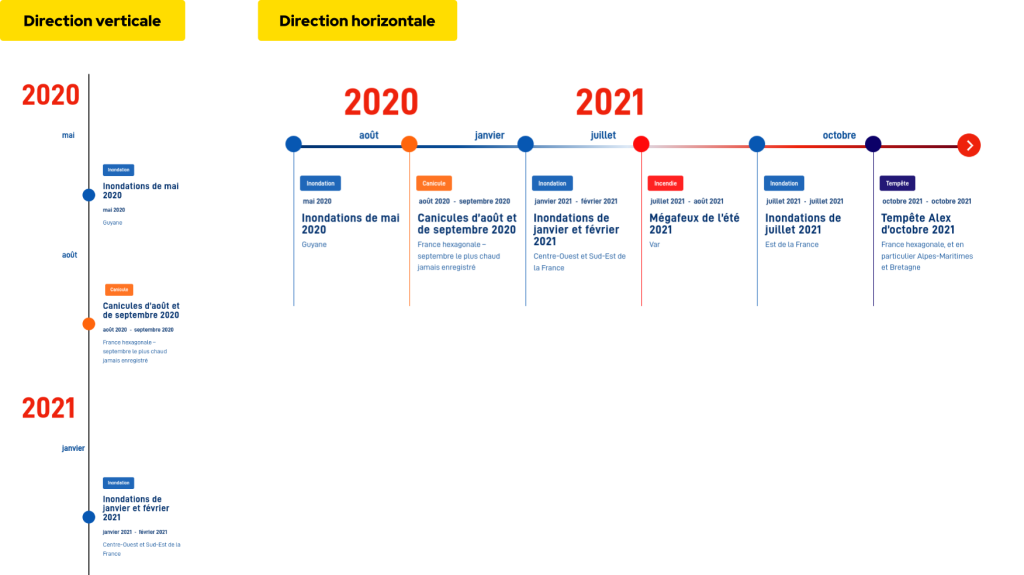
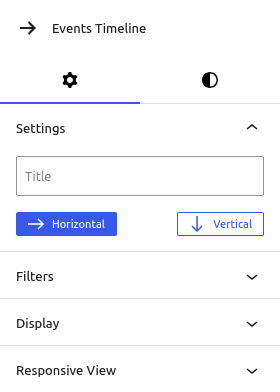
Timeline settings and customisation
- Title: give the banner a title, which will appear above the banner.
- Direction : Choice of horizontal or vertical display orientation for the timeline.
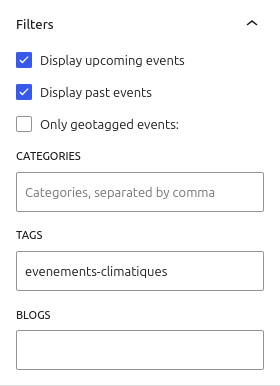
- Filters:
- Option: display of upcoming events,
- Option: display past events,
- Option: displays only geolocated events.
- Categories: the names of the post categories that will be displayed on the timeline.
- Tags: the names of the post tags that will be displayed on the timeline.
- Blogs (multisites) : Allows events from other sites in the multisite network to be included in the timeline. Enter the IDs of the relevant sites (blogs). View technical doc to activate the option..
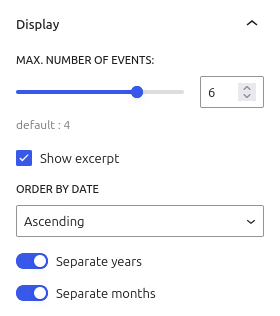
Display events options:
- Displaying the number of events per ‘slide’: depending on the layout you want and the width of your events on the timeline, you can adjust the number of events displayed; the rest will be loaded when the user clicks on the previous and next arrows.
- Show excerpt: display an extract of the content of the event.
- Ascendent : from the most recent to the oldest.
- Descendant : from oldest to most recent
Display years and month above the timeline:
- Separate years: display years.
- Separate words: display months.
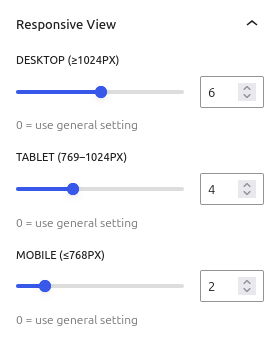
Responsive display for number of item "per vues":
- Desktop: above 1024px,
- Tablet: from 769px to 1024px,
- Mobile : until 768px,
- To set the option by default: keep at "0".
Events map
Select "Events Map" block
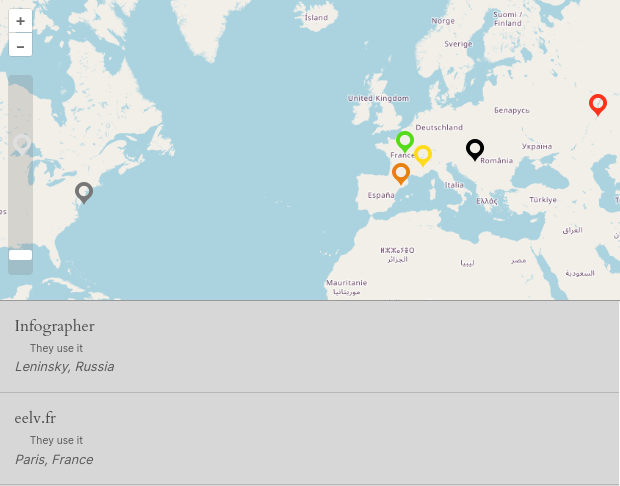
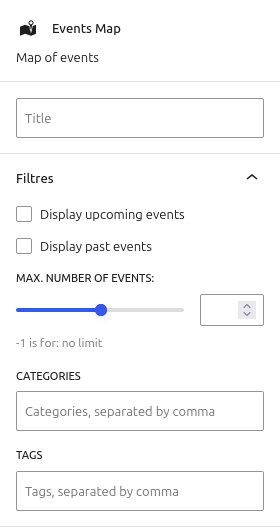
Advanced customisation options for the events map, allowing you to adjust all your settings to achieve a look that suits your project.
- Title: give your map a title, which will appear above the map.
- Filters:
- Option: display of upcoming events.
- Option: display past events.
- Displaying the maximum number of events on the map: This can help reduce the load and optimise the page display. You can set it to unlimited by entering: -1.
- Categories: the names of the post categories that will be displayed on the map.
- Tags: the names of the post tags that will be displayed on the map.
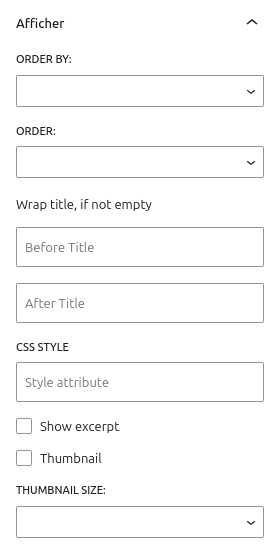
Set the display of your events as follows:
- Order by: post titles or event dates,
- Order: ascending (from most recent to oldest) or descending (from oldest to most recent),
- Title of the container: 'Before and after' does not work if the container is empty.
- CSS classes: Add a CSS class to the block.
- View the event summary
- Displaying the thumbnail + choice of size.
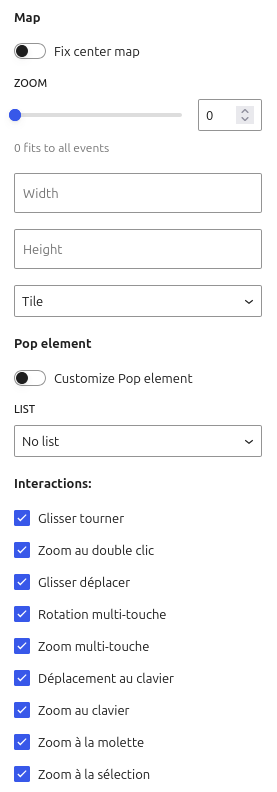
- The map:
- Option: centre the map on the page,
- Option: custom zoom level when the page loading the map is opened. The user will still be able to zoom in and out manually. A value between 2 and 18 is recommended (e.g. for a small town or neighbourhood, the ideal value is 12).
- Option: set the width and height
- Option: set a map style
- The info bubble: by enabling this option, you can customise the way information is displayed however you like, in whatever order you choose.
- List: the option to choose whether or not to display, alongside the map, the list of events on the left, right, top or bottom.
- Interactions : enable or disable the navigation options and controls on the map.

Events calendar
Select the ‘Events Calendar’ block
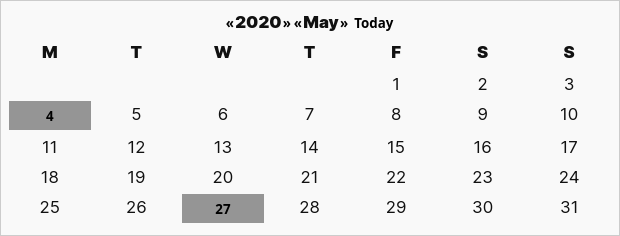
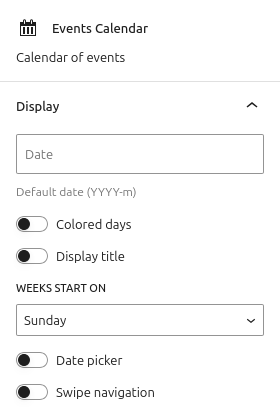
Set the display of your events as follows:
- Date : View the different date formats by country.
- Option: the ‘Today’ box takes on the colour of the event,
- Option: displays the event title in the day’s box.
- Weeks start on: day you start your week.
- Option: date range selector
- Option : adds swipe and horizontal scroll navigation
Events list:
Select the ‘Events List’ block
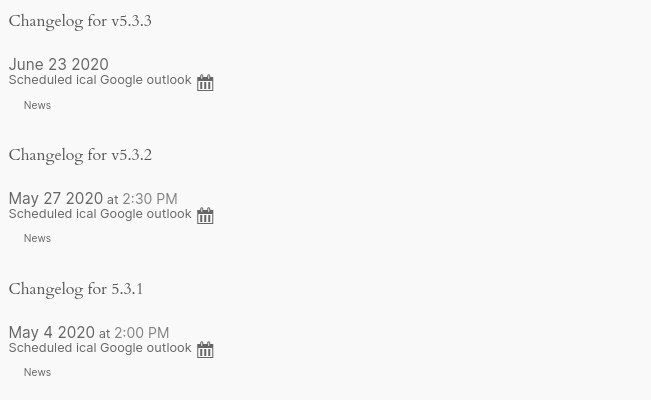
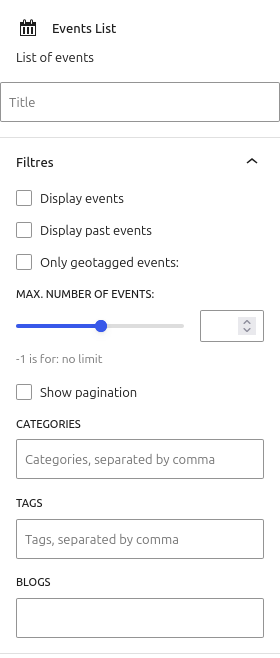
Set the display of your events in list view as follows:
- Title: display a heading above the list.
- Filters:
- Option: show upcoming events
- Option: show past events
- Option: show geolocated events only
- Nombre maximum d’évènements à afficher dans la liste : you can limit the number of events displayed or use ‘-1’ to show them all.
- Enable pagination
- Categories: the names of the post categories that will be displayed in the list.
- Tags: the names of the post tags that will be displayed in the list.
- Blogs : the blog IDs in your multisite to pull their posts into the list.
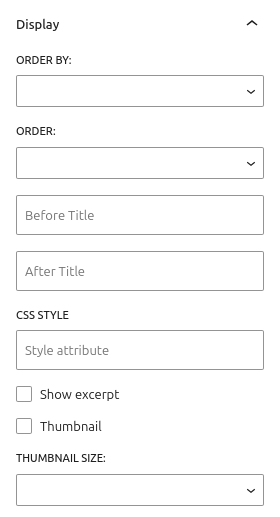
- Order by: post titles or event dates,
- Order: ascending (from most recent to oldest) or descending (from oldest to most recent),
- Title of the container: 'Before and after' does not work if the container is empty.
- CSS classes: Add a CSS class to the block.
- View the event summary
- Displaying the thumbnail + choice of size.
Details of the events
Select the ‘Events Details’ block
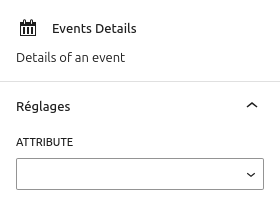
This block allows you to arrange the display of your event details in any order you wish. You can duplicate it to display each attribute separately.
- Display attributes:
- All the information
- Starts on
- Ends on
- Address
- Location
- Date
Post settings: date and location information
This is where you can customise the details regarding your event’s dates and venue.
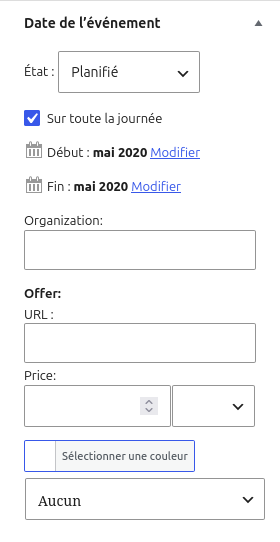
Event date:
- Status: define the status of your event to distinguish between them
- Planned
- Cancelled
- Moved online
- Reported
- Reprogrammed
- Completed
- Start and end dates: depending on the date format you have chosen, you can fill in all the date details here, plus an option for the whole day.
- Company / Organisation / Association: the event organiser.
- Offer :
- URL: the job advert’s URL,
- Price: discounted rate in the relevant currency.
- Color: choose a colour to categorise or visually distinguish your events.
- Icon: assign a specific icon (other than the one set by default in the global settings). This icon will be used to distinguish the event on a map, for example.
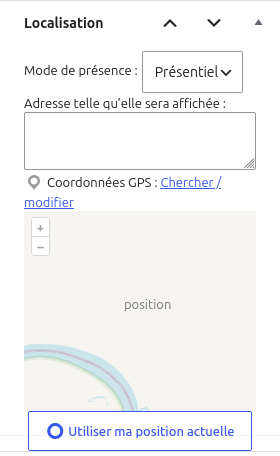
Location settings defines where the point appears on the map.
- Attendance option: might be useful for meetings, gatherings and events.
- Face-to-face,
- Online,
- Mixed.
- Adress: exact place of the event.
- GPS coordinates:
- Option: geolocation of the position,
- Option: selection on the map,
- Option: select a location using a specific address or GPS coordinates (longitude/latitude).
Further reading
Our website dedicated to EventPost
Contains all technical documentation and examples of use
Shortcodes, hooks and actions
A list view of all possible calls for customising the blocks.
Functions and classes
Technical documentation for developers who wish to delve deeper into the code.
View product sheet

EventPost
EventPost is a geolocation plugin. You can assign a date and location to your WordPress post. Posts are displayed however you like: as a list, a calendar, a map, etc.